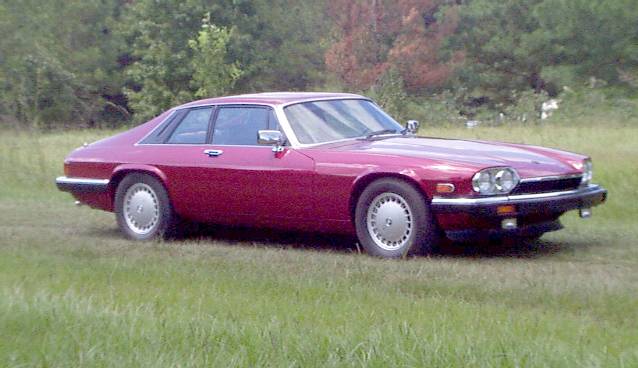
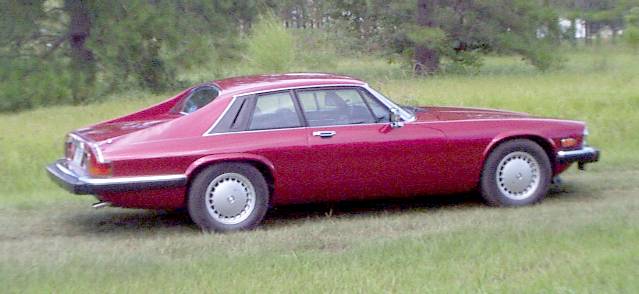
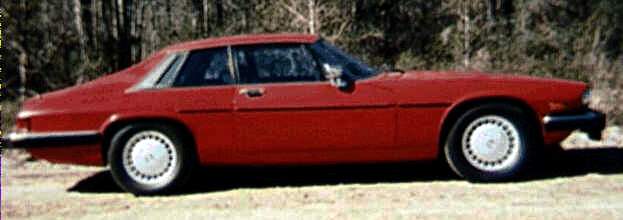
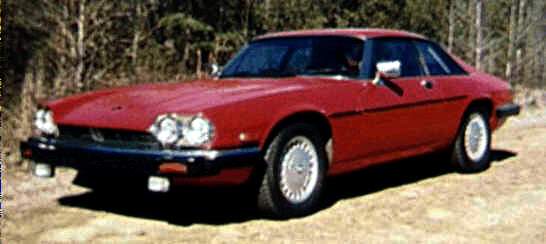
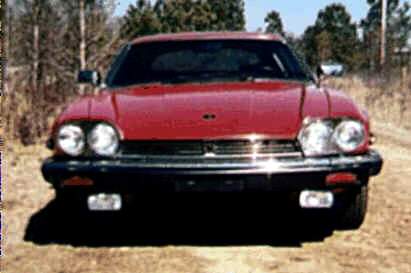
Note the '92-on style black grille and straight exhaust tips. These pictures are good but not great.
I also have posted a few pictures of what the car looked like before it was painted. Note the original chrome grille. These pictures are really poor.
xjs1.jpg is a three-quarter view.
xjs2.jpg is a side view.
xjs3.jpg is a one-quarter view.
xjs4.jpg is a front view.
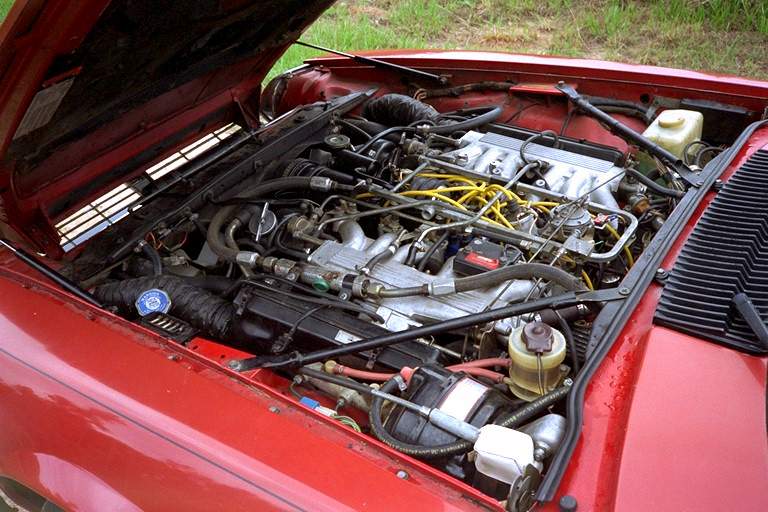
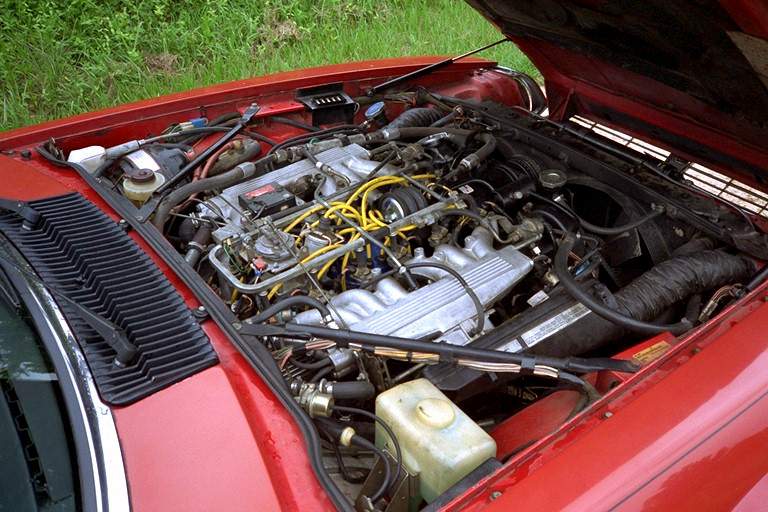
xjs_eng1.jpg is a view of the engine compartment from the left side -- note the clutch cable, the air intake hoses, and the red hoses on the brake fluid reservoir (the original reservoir has since been replaced with a Mitsubishi reservoir). xjs_eng2.jpg is a view of the engine compartment from the right side -- note the GM hot water valve in the foreground, as well as the metal fan (which has since been replaced with an electric fan). Both of these pictures are good quality, and large; to some, details are important here, so I have posted these full size.
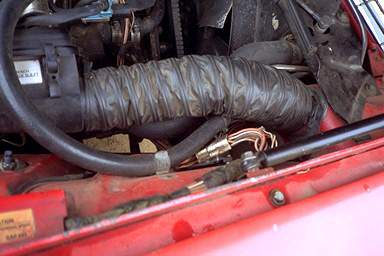
intake.jpg is a closeup of the air intake modification on my car. As described in my book, the inlet horns on the air filter housings were removed and replaced with a short section of 3" exhaust pipe; on the left side, the temperature sensor was relocated into the housing itself. Then an opening was cut in the rear end of the headlight housing and another section of 3" exhaust pipe was fitted there. Finally, a section of flexible hose, available at auto parts stores and intended for this purpose, was installed. The flexible hose has built-in clips, so separate clamps are unnecessary. An unseen sheet metal panel inside the headlight housing was cut open to allow cool airflow to come from the area in front of the radiator through the headlight housing and into the intakes. On the left side of the car, some relays had to be relocated to permit this modification.
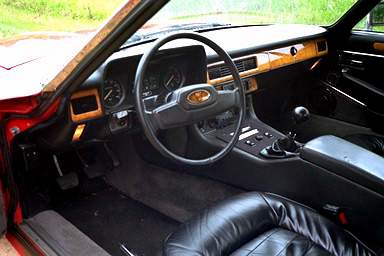
xjs_int.jpg is the interior of my car. Note the manual shifter and the clutch pedal.
During a rebuild, I decided to change the appearance of the cam covers on my V12, including replacing the tacky decals with something more appropriate. ccdecor.html describes the job and provides pictures of the results.