Status 5/21/04 : Site prep has started and is moving forward at a wonderful pace... Our new contractor ( Neal Fogler of Keystone Homes) is doing a top rate job on keeping cost low and moving the project forward ... We have been working together on obtaining subs and pricing the project out ... We also have been doing as much of the work together to keep cost low and try to keep in budget ... Ok .. OK ... I know show you the pictures... Fine....
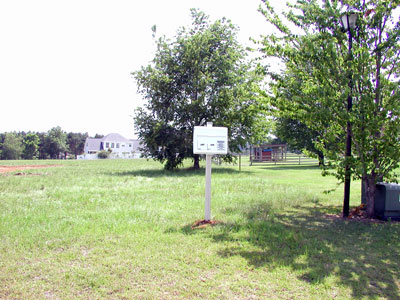
... First we have to set the permit /plans box... This is require for all construction inspections by the county.... basically it just holds a set of the permitted plans.. notice of commencement.. the permit for the inspector to sign and other reports needed during the construction process..
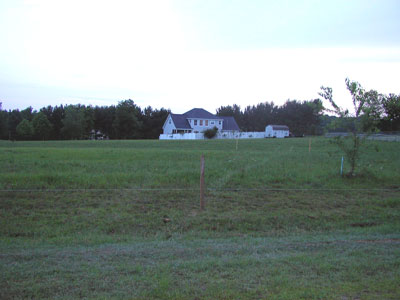
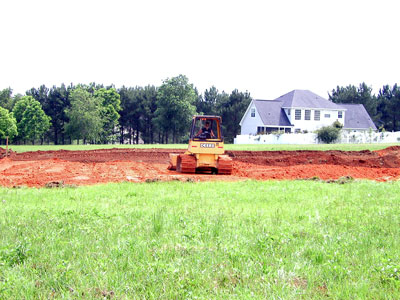
... next step ... we stake off the house location ... in doing this we place the general house grade stakes 2 feet outside the actual foundation size... this makes it easier to provide the proper size and elevation for the building pad... we also stake the property corners to define the actual lot size and allow easy measurements to locate placement of items on the site...
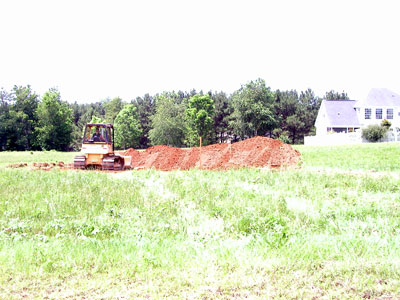
.....Next step ... Scrape the top soil and existing vegetation from the foundation pad location... you will want to stock pile this material close buy so that it can be spread back out after the pad is placed ... this is done to save some cost of having it removed from the site and having to bring more soil in to properly grade around the pad...
... Try and not move the material around the site to much keep it close to where the final placement will be ... this will save time and loss of soil ... every time you move soil you lose a portion ... do not ask me how it happens or where it all goes ... but it happens ....
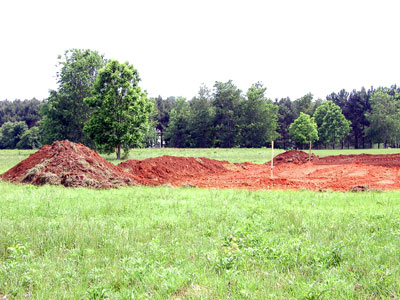
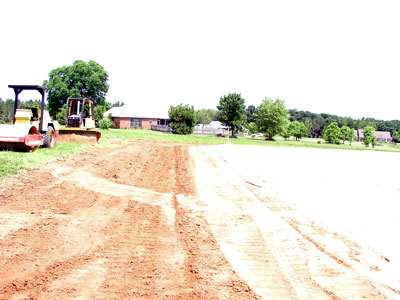
... Next step ... Spread out the material being brought in from the sand pits... now this soil is a sandy clay ... most of the time an Orangeburg type material .. it compacts very nicely and is not to expensive ... runs about 100 dollars a truck ... an a truck deliver about 16 Cubic yards... now you need to place this material in no more than 18" lifts ... once that much material has been placed and compacted ... you need to have it tested to make sure that the contractor is constructing your pad properly... a poorly compacted pad will cause cracking in the foundation... brick siding ... and many other problems ... DO not skip testing ... it will cost you big time in the end...
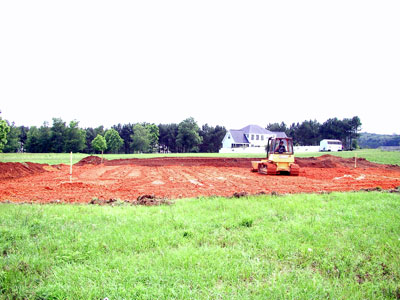
... you want a good contractor to place this material to limit the amount of material required and the tracker time required to place it ... Remember you pay for everything .. and time is money .. especially with heavy equipment... so Know what you want and where you wanted it prior to when they start.. changes will cost $$$...
... Make sure the lifts are level prior to compaction ... will allow you to determine how close you are to the required elevation ...

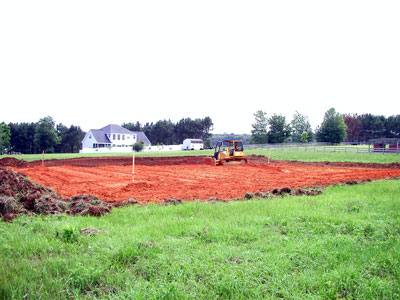
... last step is to shoot several shots around the pad prior to contractor removing the heavy equipment from the site ... even if he messed up ... it most likely will not be off by much and he will want even more cash to bring the machines back... remember with these machines time is money to him ... and he tries to run them as much as he can ... so if he has them on your site ... then he is not making money on them some where else ... these 2 where gone within 2 hours of completion of the pad...

.... The pad should be of the proper elevation ... very firm to the touch and feel ... when you walk on it.. if your feet are leaving foot prints on the pad after he as rolled it ... it is not done right... I can not stress enough ... TEST THE PAD FOR COMPACTION IN 18" LIFTS...
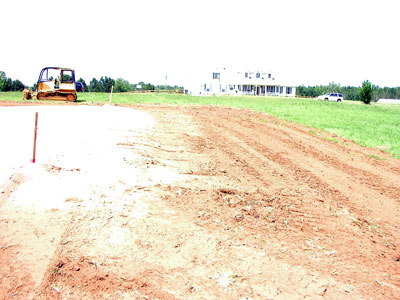
... Last step... spread the Top soil that you have stock piled near by to taper out the pad elevation to the natural ground elevations ..... I used a 10 to 1 slop on my site ... that is just a personal preference ... but you should not have a greater that 2 to 1 side slopes... and no more than a 10 to 1 slope in any area you going to drive or park a vehicle...
... also the slopes around the pad should promote proper drainage away from the residence... this is where allot of builders do not take time to do properly... as a Civil Engineer I get to many calls to come out and solve improper grading problems that are not properly addressed during the construction process...

... One last tip... if your garage faces the high side of your lot .. you want to make sure that you provide a drop / slope away from the door entrance ... this is the case on my site... so I must be careful to construct the driveway so that water will not build up against my garage door ... it will flow under the door and cause water damage to your home .. I have had more than one builder rip out a newly poured driveway to correct this type of problem ... so be careful about your house orientation on the site ... the existing grades ... and make sure your contractor is knowledgeable about all aspects of site drainage...
Later for now,
Mark...