Status 6/7/04 : THE FOUNDATION IS POURED!!! ... yep we have completed what I feel is the first major stage of the house construction... AND... we are very close to being in budget... Currently as we stand we are approximately 1% over budget ... and to be this far along and still have the ability to bring this project in on time and in budget is a wonderful feeling ...OK OK ... to the pictures...
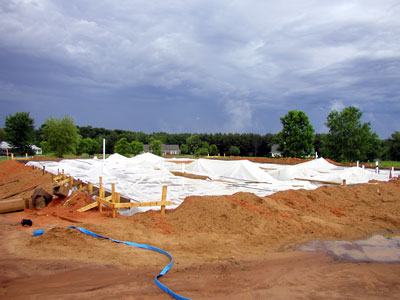
Ok to pick up where we left off at the last update... we had the pad prepped .. and the rough in completed ... after the rough in we called the pest control to treat the pad for termites... once this has been done and inspection has been called in for the rough in... we are allowed to move forward with the final preparations of the forms and pad.. first we place the plastic over the pad...

Once the plastic is in place the rebar is placed in the grade beam trenches... above is a picture of how to tie one grade beam into another ... Note how the steel is tied to allow for the joints to merge together and provides no weak locations in the grade beams..
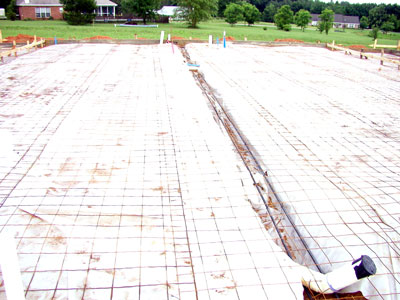
Now that you have all the rebar placed in all the grade beams ... we place 6x6 10 x10 WWM over the entire foundation... This WWM (wire welded mesh) is utilized to prevent cracking in the slab from heat / cold expansions and contractions ... you can use fiber reinforced concrete instead of this material if you wish .. we decided to go with the WWM for cost reasons...
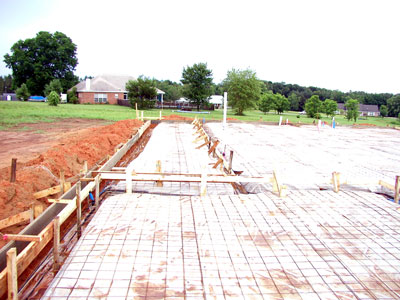
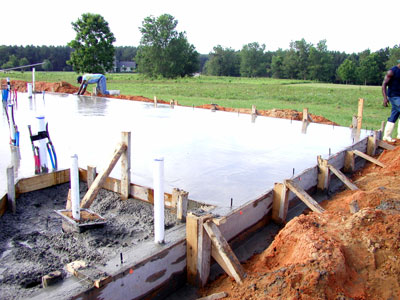
.. once all the WWM and rebar is in place the forms are finished off and marked for anchor bolt locations .... also note we have many string level lines pulled around the forms to help square the forms and make sure the slab is poured level ... the strings are to hard to see in the pictures but they are there...
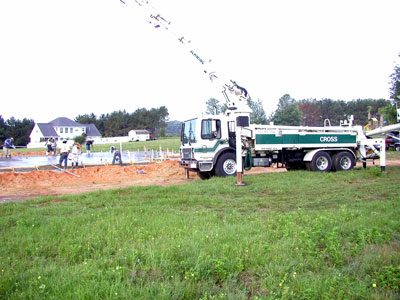
Now that the pad and forms are set and marked your ready to pour the slab... Due to weather that is driving me nuts we had to call off the Friday pour ... But of course then it does not rain... so we moved the pour to Monday and that is the reason this update is late .. sorry all ... Soo .. we had a large slab and the company we had only provided rear dumping trucks which would make the placement of the concrete a nightmare ... with the soft soils onsite from the weekend rain and then having to physically move the concrete around the pad we decided to go with a pump truck... this truck was not cheap cost was around $800.00 for 5 hours of use ... they also charge per yard of concrete pumped ... so I paid 600 for the time and 2 dollars per yard pumped...
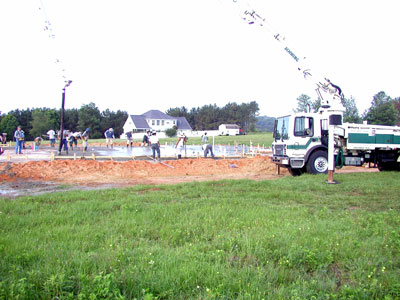
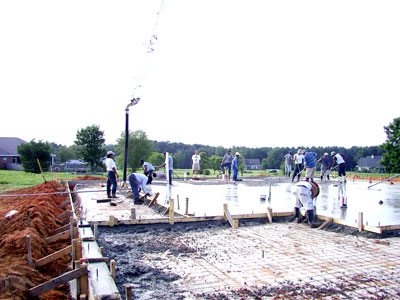
The above picture shows you the long reach the pump truck has ... basically we set in one place and were able to reach all points on the slab... IT was a great item to have and well worth the cost... it saved time ... and believe me with afternoon storms rolling in we had a race on our hands to get the slab poured and set...
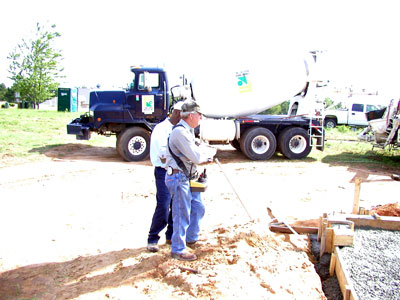
On a side note it was fun to watch the guy in the above picture to operate the pump truck with his remote controls... just like a video game he stood around with his joysticks... placing concrete where it is needed and in the amount needed.. was fun to watch his skills at work...

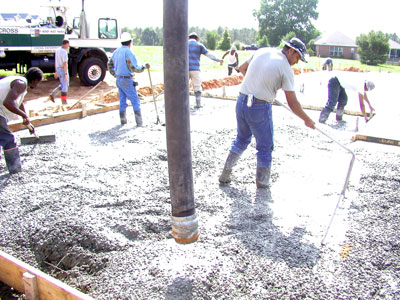
The slab was poured right to left in the main area .. above you can see where they are getting to the left side of the slab and are just starting to work on filling the outside grade beam with concrete... We were lucky enough to have a good crew that knew their jobs so the whole pour went smoothly..
Once the main slab was poured they moved to the garage area... they poured the outside beams first then the slab... you can see above the crew working hard to spread the concrete evenly...
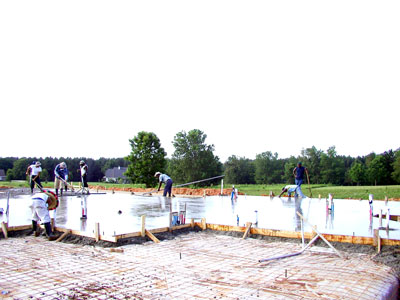
As one area is having the concrete placed another portion of the crew is going behind them with their float trowels and smoothing out the fresh concrete...
Now that the concrete has a been smoothed with a first trowel ... they have a guy going around the exterior of the slab placing 1/2" anchor bolts which will be used to satisfied the uplift requirements of the wind analysis required by Florida building code...

Another feature of the slab is the drains for the tubs and showers... you can see one here that is placed in the concrete to allow the plumbers to come back later and install the bathtubs and such...
The crews worked fast and moved from one area to another... they placed 100 cyds in about 4 hours..

the exterior beam of the garage is elevated to allow for a slope to be poured in the garage... this is done to make sure no water enters the residence and if it does it will drain out of the area...
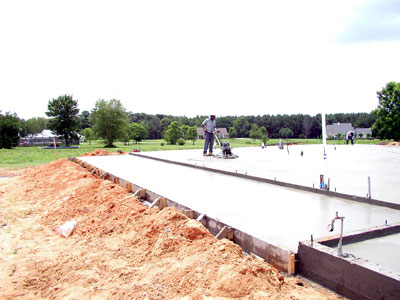
After all the concrete has been placed and rough toweled .. they place a disk machine on the concrete and run it over and over the main slab to get a very smooth polished finish ... this is also done in the garage... while the front and back porches received a broom finish to provide a none slip texture..
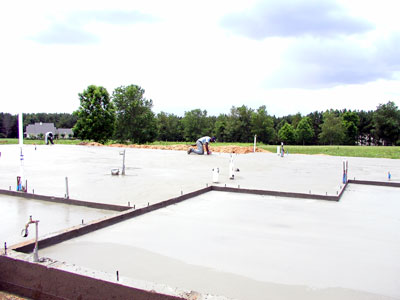
Well the slab is poured .... and we beat the rain... well mostly it did rain on the pour 2 times but we had plastic on site to cover the slab till it moved thru... I can now say that one major step of the project is completed... the subs are paid .. and we are waiting for the slab to cure... we hope to have the framers onsite Friday... so may be 10 days or so till the next update...
Later for now ....
Mark