Status 7/6/04 : Will the Framing ever END???.... Well weather has been hard on the framing ... but we deal with it as we can... so not much to say other than ... FINISH the framing already.... ok ok .. I am calm... really I am ... ok time for the pictures...
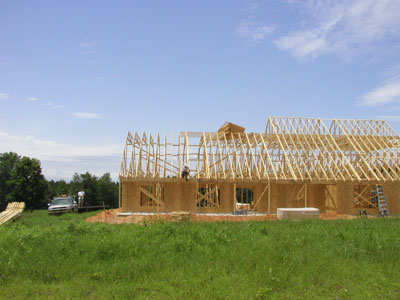
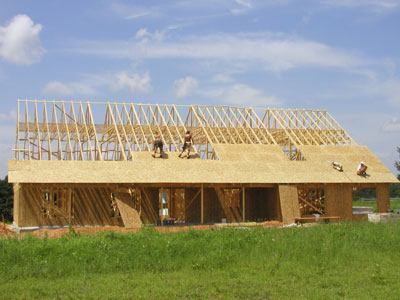
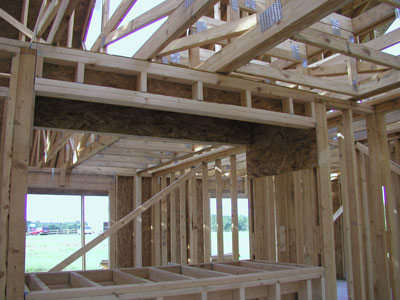
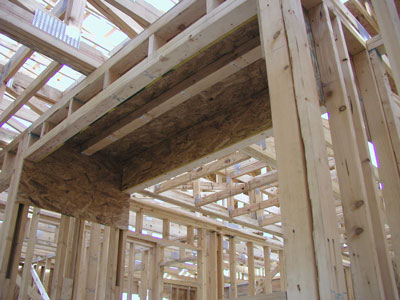
The trusses are straighten with bracing .. and the piggybacks are installed on the top... the area the dormers will be installed will be common framed with 2x8 sp...
in addition to the internal bracing ... they started to add some roof sheathing so that the roof would have more lateral stability ... especially with all the rain and wind we get every day it seems...
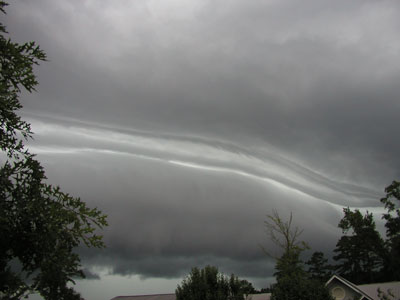
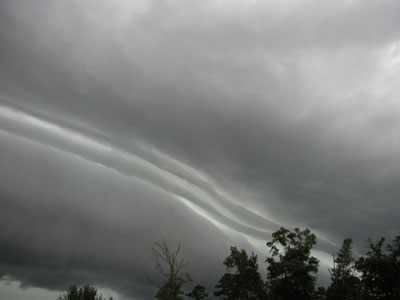
AND the rain rolls in.....
Well we started early this day .. and got some good progress at the start....
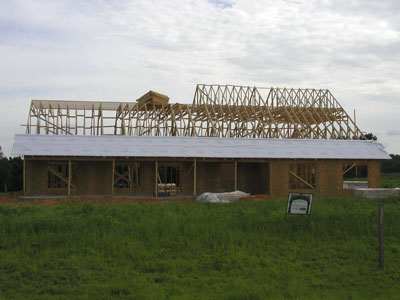
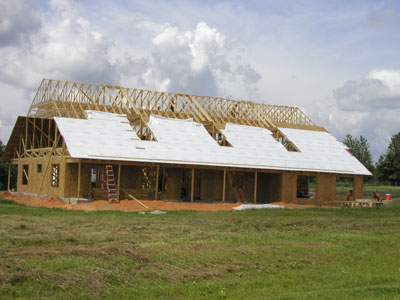
all the piggy backs are installed .. and more sheathing is placed....

AND the rain rolls in.....
a bit more sheathing and sharkskin.....
AND the rain rolls in.....
Soooo... close the roof is almost sheathed...
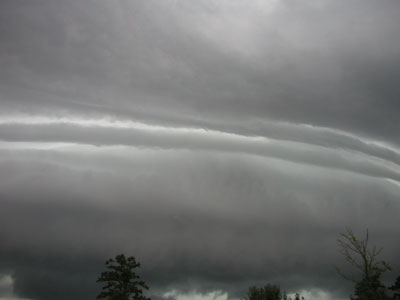
AND the rain rolls in..... and on top of that July 4 weekend is here ... that means all the framers run to the nearest watering hole... not to be seen again till July 6th..

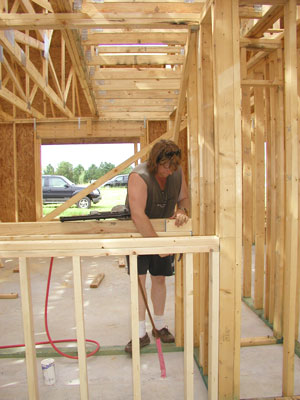
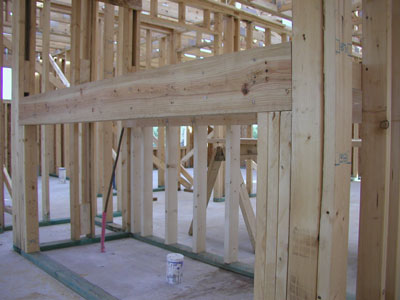
Ok well it is my turn to get some framing done... break out the tools... bush off the rusty carpentry skills and try to do some damage to this project... LOL... no but seriously ... I worked many a year as a carpenter during my college years to make extra money... so this was nothing new for me ... and instead of paying for a change of work order to rough in the new Salt fish water tank ... I decided to do all the work myself...
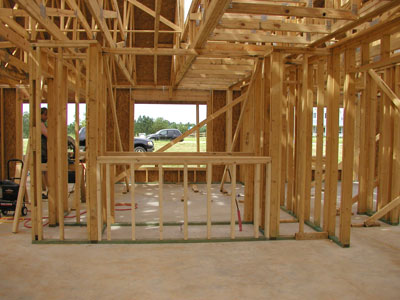
To start I ripped out wall the framers put up and then I used the lumber to build two 42" high knees walls... one side is Just 2x4s 12" o.c. ... on the other side is two 3-2x4 stud packs with a 2-2x8sp w/ OSB fletch beam mounted on top... the beam is installed so that cabinet doors can be installed later to allow access to the fish tank sump area...
After the knee walls are installed I attached a 2x4 ledger on each side ... taking care to make sure the resting area is level and plumb...
It is critical to have a Level area to place the tank on or you risk cracking the very expensive acrylic tank that you just invested in...
I do one more adjustment to the ledgers...

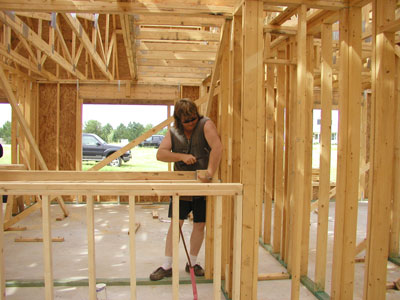
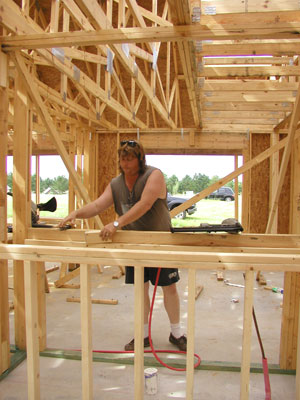
Now it is Time for the NEW TOY... yep I bought a new framing nailing gun.. an Man I love it ... make the job that much easier ... especially since I have soft hands now from working on computer all the time... i could just imagine all the blisters I would have if I had to hand drive all the nails I used that day...
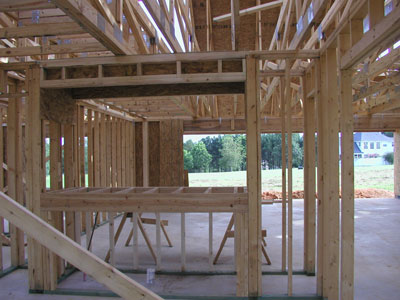
This is the finished Hood and Front display area... it came out extremely well I could not be more pleased with my work..
I will later Durra rock the upper hood area to protect from condensation and the heat of the Metal halides I will be using to light the tank ...

As you can see Kaylynn has to sneak into most every pictures... or my parents will kill me if I do not show at least one picture...
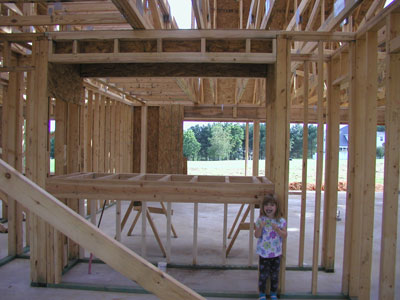
Here is a picture of Kaylynn to show you the scale of the tank ... basically she could go for a swim and do a few laps... The tank volume in the display area will be approximately 420 Gallons..
This is the sump area ... which will have all the boring stuff in it .. but is essential to maintaining the tank... I will do a web page just for the tank .. but for now i will not go into the details of the tank filter systems...
Well this the finished tank seen from the rear display area... it is going to be breath taking if I do my job right ... lets keep our fingers crossed ... and hope I stay focused .. so I can finish my research ... time will tell but for now...... IT IS TIME FOR SOME FIREWORKS.....
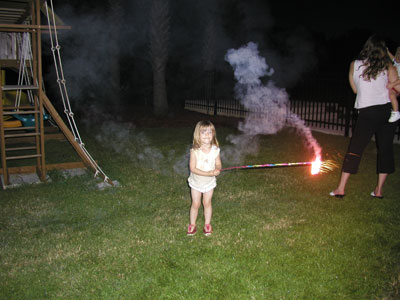
Well here is Kaylynn with fire... I am not sure how smart this is but .. she loved it ... and lucky ... no one got burned...
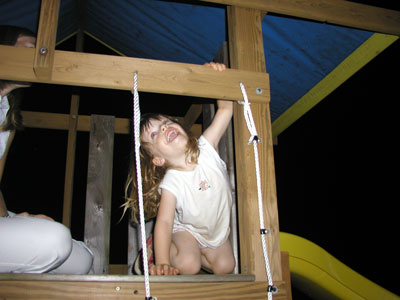
We spent the night at our new neighbors house and watched all the cool fireworks they set off.. it was very fun... and Kaylynn loved it...
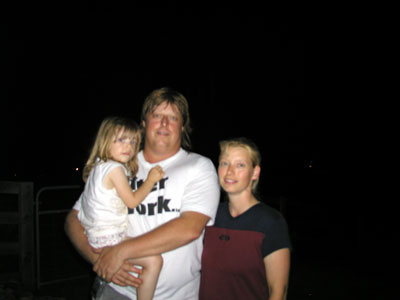
Man the fireworks were great .. but it has been one long day... and I think it shows... we all are hot sweaty... and ready for bed...

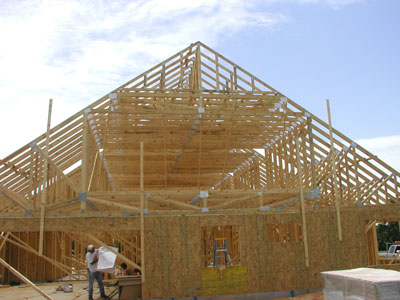
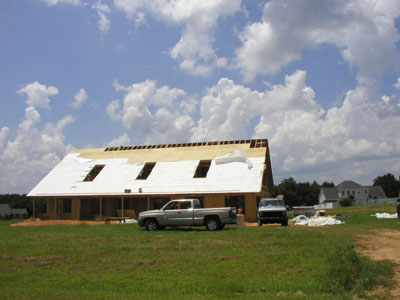
FINALLY THE SUN SHINES THRU!!!!... but damm it is Hot... 110 heat index this day...
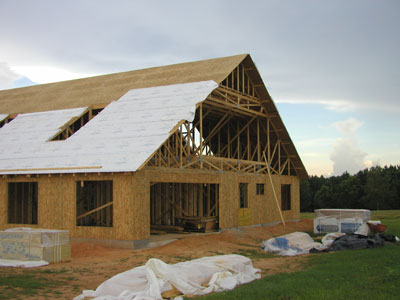
But we finally have the roof fully sheathed.... and most of the roofing paper has been tacked down ... we are using a new product called Sharkskin ... which is like a tyvek material ... it is good for a year if exposure before it is shingled ... basically it is much better than the old style 30 Lb felt.. but one thing you need to know it is slick... we had one framer fall off the roof today.. lucky he was not hurt...
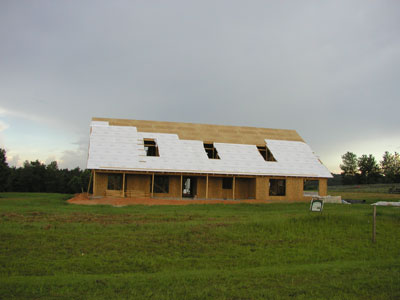
so the house is finally looking like a house... YES it is a HOUSE and not a barn thank you very much.... smile.... well that is all for now... check back later for the next update...
Later for now ....
Mark